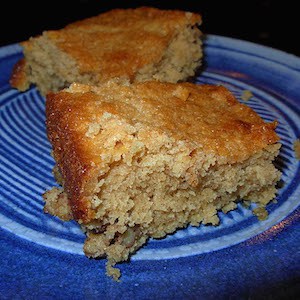
Mint Chocolate Chip Cookies (gluten free) are super tasty. Don't you just love the combination of mint and chocolate? And you can whip these up in less than an hour.
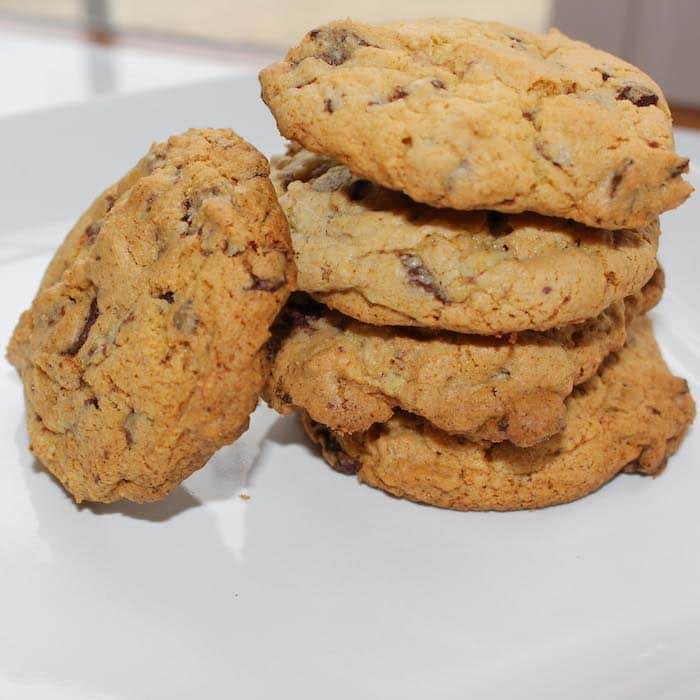
These Mint Chocolate Chip Cookies (Gluten Free) are so delicious. Tell everyone they are GF and you can eat them all yourself!
Mint Chocolate Chip Cookies won't last long
Did you know that February 19 is Chocolate Mint Day? Who knew? It's one of my favorite flavor combinations. If you like that combo, you're gonna love these Mint Chocolate Chip Cookies. Gluten free baked goods can be a little grainy, but these cookies were super and it's likely no one will be able to tell they are gluten free. If you underbake cookies just a bit, they will be chewy (which is the way I like them).
Celebrate this special day with me. I've been hungry for cookies lately. Well, when am I not hungry for cookies? Cookies are my favorite dessert. Just call me Cookie Monster.
Anyway, I looked in the cupboard and found a 10-ounce package of Andes Creme de Menthe Baking Chips (affiliate link) and decided to make some gluten-free cookies. And I'm glad I did! They are amazing. Great texture. Bursting with flavor.
What You Need
As with most cookie recipes, you will need measuring cups and spoons (affiliate link), a bowl, an electric mixer (or you can struggle making it by hand), cookie sheets, and cooling racks. (affiliate link). Save yourself some trouble and get a silicone baking sheet to put on top of your cookie sheet. The clean-up is a breeze. And, of course, you need a good cuppa coffee, right?
If you don't have gluten free flour on hand, you can make your own by following my gluten-free flour conversion chart.

Mint Chocolate Chip Cookies Recipe (Gluten Free)
Author: Recipe Idea Shop
Ingredients
- ½ cup unsalted butter
- 2 large eggs
- ½ cup brown sugar
- ¼ cup white sugar
- 2 teaspoons vanilla extract
- 1 teaspoon baking soda
- 1 teaspoon baking powder
- ½ teaspoon salt
- ¼ teaspoon Xanthan Gum
- ¼ cup oat flour
- 2 cups Bob's Red Mill Gluten-free Baking Mix or another 1-for-1 flour mix
- 1 10-ounce package Andes Creme de Menthe chips
- ½ cup chopped almonds optional; reduce the amount of flour by ¼ cup if you add nuts
Instructions
- Heat oven to 350F degrees.
- Mix butter, eggs, sugars, and vanilla until blended.
- Add the flours, baking soda, baking powder, salt and xanthan gum. I just pour them on top of the butter mixture, then give the dry ingredients a little stir to mix the soda and baking powder into the flour before mixing with the butter.
- Mix until the dough is well combined and sticky.
- Add the chips and almonds (if using).
- Mix to combine.
- Optional: Let the dough rest for 30 minutes to prevent graininess.
- Drop by rounded teaspoons-full on an ungreased baking sheet, about 2 inches apart, 12 cookies to a sheet.
- Bake at 350F degrees for 10 minutes or until the cookies are beginning to brown just a bit.
- Let the cookies sit for about 5 minutes before transferring them to a cooling rack to fully cool.

